How to Install Ubuntu on Raspberry Pi

The Raspberry Pi is the most popular single-board computer of all time. It can be used for various purposes such as desktop PC, home media center, smart Wi-Fi router, automation system, and game server. The use cases are endless.
If your Raspberry Pi comes without an SD card preloaded with NOOBS, you will need to and manually install an operating system on your SD card. You can run many different operating systems on Raspberry Pi, including Windows 10 IoT, FreeBSD, and various Linux distributions such as Arch Linux and Raspbian .
This tutorial describes how to install Ubuntu on a Raspberry Pi. Ubuntu is the most popular Linux distribution that can run on all kinds of hardware, from high-end computers to small devices such as Raspberry Pi.
Installing Ubuntu is as simple as writing the OS image file to the SD card. We’ll show you how to flash the Ubuntu image, boot up the Raspberry Pi, and connect it to the Internet.
Writing the Image to the SD Card
There are several different applications available for free use that you can use flash ISO images to SD cards. In this tutorial, we will use the Raspberry Pi Imager.
Raspberry Pi Imager is an open-source utility for flashing operating systems that run on Raspberry Pi to SD cards. It is available for Windows, macOS, and Ubuntu.
Head over to the Raspberry Pi downloads page , download the most recent version of Imager for your operating system, and install the application.
Note that flashing an image to an SD card is a destructive process, and it will erase all the existing data. If you have data on the SD card, first back it up.
Insert the SD card into your SD card drive and launch the Raspberry Pi Imager application:
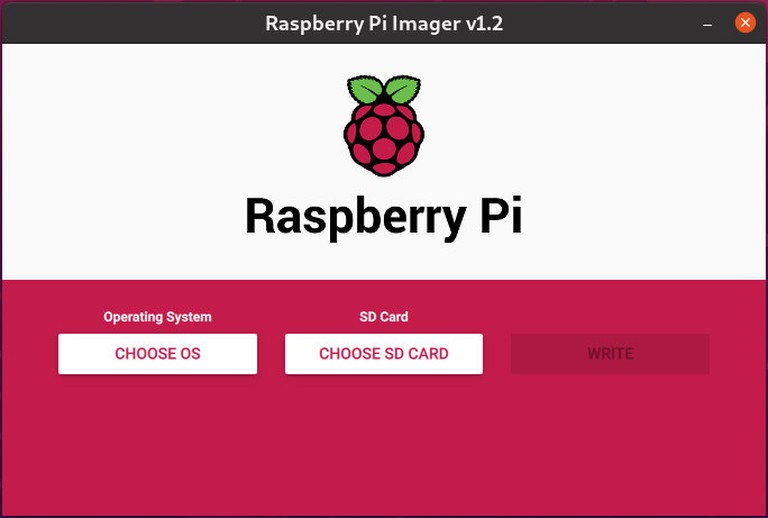
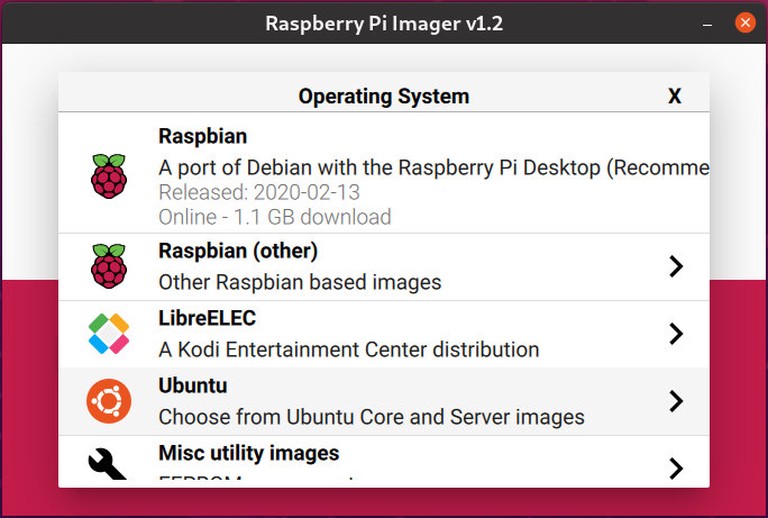
Click on the “CHOOSE OS” button to open the menu for selecting the Operating System. Scroll down and click “Ubuntu”:
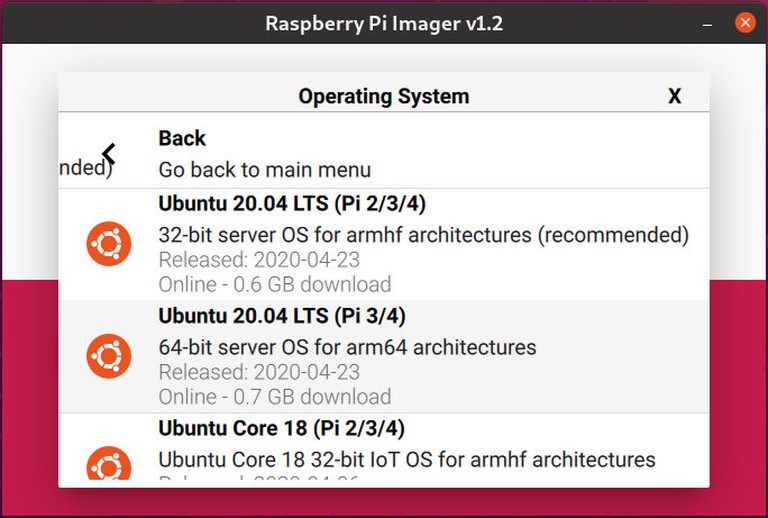
You will be presented with a list of Ubuntu images to choose from. Select the image according to your Pi version. In this guide, we’re using Raspberry Pi 4 with 4GB of ram, and we’ll select Ubuntu 20.04 64 bit:
Click on the “CHOOSE SD CARD” button, and in the new menu select the SD card you have inserted. If more than one SD cards are attached to your system, make sure you have selected the correct drive before flashing the image:

Click on the “WRITE” button and Raspberry Pi Imager will download the selected image and start the flashing process:
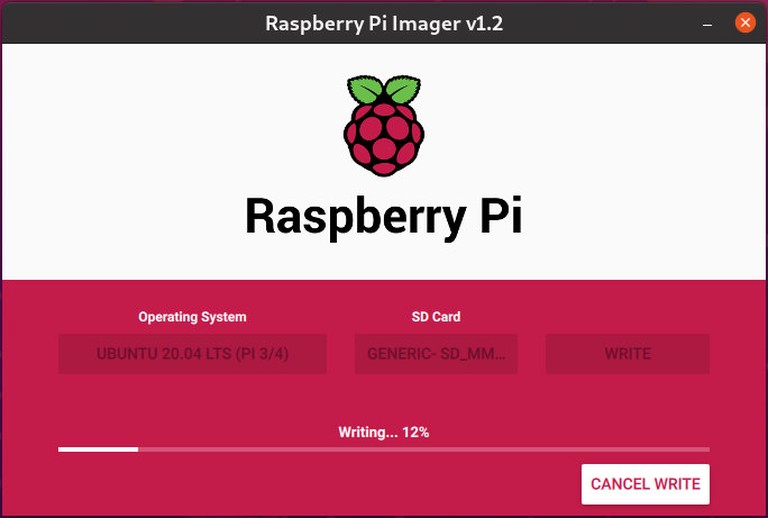
The process may take several minutes, depending on the size of the file and the card speed.
On success, the application will show the following message:
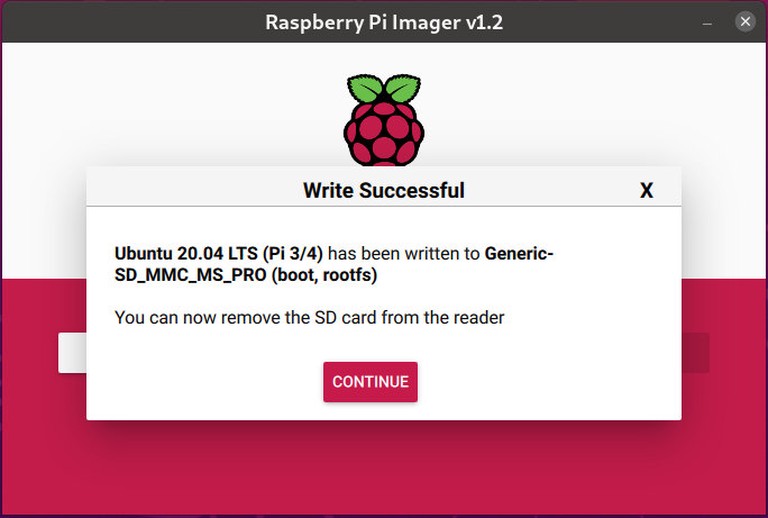


That’s all! You have a bootable Ubuntu on your SD card.
Network Configuration
You can connect your PI to the Internet, either with Ethernet or Wi-Fi. If you’re going to use a wired connection, connect the Pi to your home router with a cable and skip the next steps in this section.
To connect your Pi to the network wirelessly at boot, you’ll need to edit the network configuration file and enter your Wi-Fi information.
If you removed the SD card from your computer’s card reader, insert it again. The SD card will mount automatically.
Navigate to the
system-bootpartition on the SD card with your OS file manager.Open the
network-configfile and update it with Wi-Fi credentials. For example, if your wifi network name is “my-router” and wifi password is “S3kr1t” you would edit the file as below:network-configtxtversion: 2 ethernets: eth0: dhcp4: true optional: true wifis: wlan0: dhcp4: true optional: true access-points: my-router: password: "S3kr1t"Save the file and remove the card from your computer. On boot, your Pi will automatically connect to the specified network.
Boot Raspberry Pi
You can use your Raspberry Pi as a headless machine and connect to it via SSH or plug into an HDMI display.
Put the SD card into your Pi and power it up. If you are using a monitor and keyboard, plug them in before powering your Raspberry Pi board.
The default username is ubuntu, and the password is ubuntu.
It will take a few minutes for Pi to boot up. Once online you can find the Raspberry Pi IP address in your router’s DHCP lease table and login to your Ubuntu via ssh:
ssh ubuntu@192.168.1.149The first time you log in, you’ll be asked to change the ubuntu user password.
Conclusion
Installing Ubuntu on Raspberry Pi is a pretty straightforward process. All you need to do is to write the image to the SD card and boot up the Raspberry Pi.
If you hit a problem or have feedback, leave a comment below.
Tags
Linuxize Weekly Newsletter
A quick weekly roundup of new tutorials, news, and tips.
About the authors

Dejan Panovski
Dejan Panovski is the founder of Linuxize, an RHCSA-certified Linux system administrator and DevOps engineer based in Skopje, Macedonia. Author of 800+ Linux tutorials with 20+ years of experience turning complex Linux tasks into clear, reliable guides.
View author page