How to Encrypt and Decrypt Files with GPG
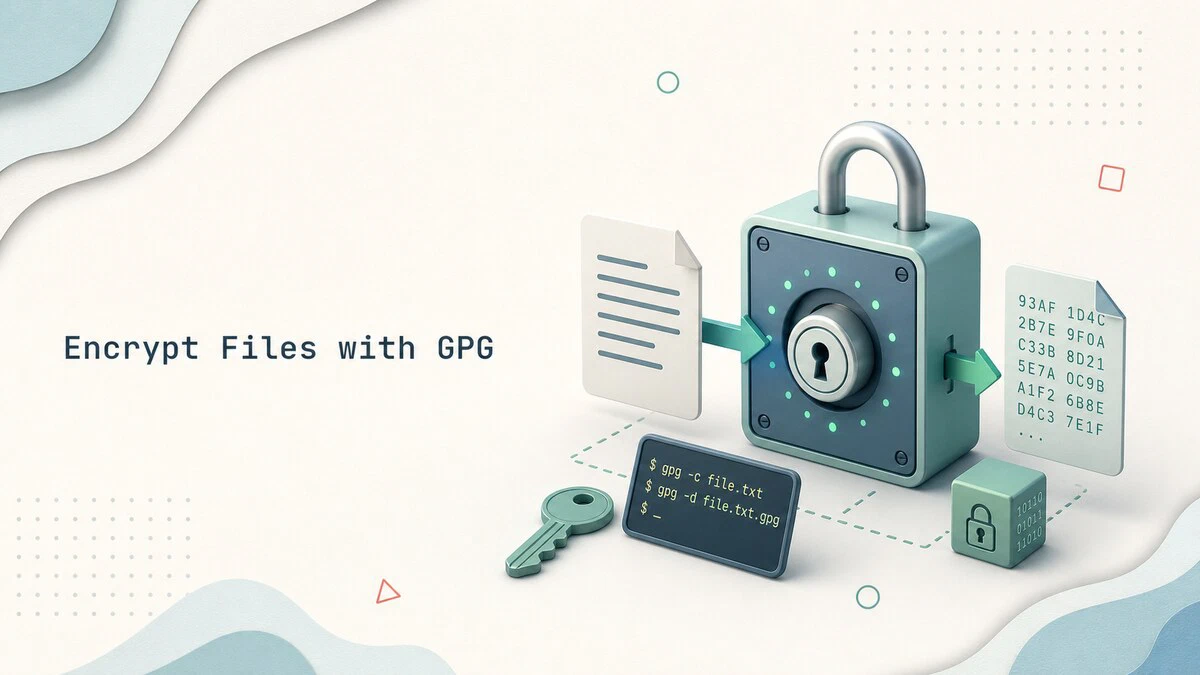
Sooner or later you end up with a file that should not sit around in plain text: a database dump with customer data, a document with credentials, or a backup you want to park on cloud storage you do not fully trust. Encrypting the file before it leaves your machine solves the problem, and GPG is the standard tool for the job on Linux.
GnuPG (GNU Privacy Guard), invoked as gpg, implements the OpenPGP standard. It supports two ways of encrypting a file: symmetric encryption, where a single passphrase both locks and unlocks the file, and public key encryption, where anyone can encrypt a file for you but only your private key can decrypt it.
This guide explains how to encrypt and decrypt files with gpg using both methods, how to exchange encrypted files with other people, and how to handle encryption in scripts.
Quick Reference
| Task | Command |
|---|---|
| Encrypt with a passphrase | gpg -c file |
| Decrypt to a file | gpg -o file -d file.gpg |
| Generate a key pair | gpg --full-generate-key |
| List public keys | gpg --list-keys |
| Export your public key | gpg --armor --export you@example.com > public.asc |
| Import someone’s public key | gpg --import public.asc |
| Encrypt for a recipient | gpg -e -r name@example.com file |
| Sign and encrypt | gpg -s -e -r name@example.com file |
| Encrypt a directory | tar czf - dir | gpg -c -o dir.tar.gz.gpg |
| Decrypt a directory | gpg -d dir.tar.gz.gpg | tar xzf - |
Installing GnuPG
GnuPG is preinstalled on nearly all Linux distributions because the package managers themselves depend on it. Verify that it is available:
gpg --versiongpg (GnuPG) 2.4.4
libgcrypt 1.10.3Your version numbers may differ, but any current GnuPG 2.x release supports the commands used in this guide.
If the command is missing, install the gnupg package with sudo apt install gnupg on Ubuntu, Debian, and Derivatives, or sudo dnf install gnupg2 on Fedora, RHEL, and Derivatives.
Encrypting a File with a Passphrase
Symmetric encryption is the simplest option: one passphrase encrypts the file, and the same passphrase decrypts it. There are no keys to generate or exchange, which makes it a good fit for encrypting your own backups or sending a file to someone you can share a passphrase with over a separate channel.
Use the -c (--symmetric) option:
gpg -c database-backup.sqlgpg prompts for a passphrase, asks you to repeat it, and writes the encrypted result to database-backup.sql.gpg. The original file is left in place. Before removing it, decrypt the encrypted copy to a temporary file and compare the two files:
gpg -o /tmp/database-backup.sql -d database-backup.sql.gpg
cmp database-backup.sql /tmp/database-backup.sql
The cmp command prints nothing when the files are identical. After a successful comparison, remove the temporary copy and the original plaintext file:
rm /tmp/database-backup.sql
rm database-backup.sql
Pick a long passphrase. The encryption is only as strong as the passphrase protecting it, and a short or reused one undoes the benefit of encrypting at all.
By default the output is a binary file. If you need to paste the encrypted content into an email or a ticket, add -a (--armor) to produce ASCII text instead:
gpg -c -a notes.txtThis writes notes.txt.asc, a plain text file that survives copy and paste. You can also choose the cipher explicitly with --cipher-algo AES256 if a policy requires a specific algorithm; run gpg --version to see which ciphers your build supports.
Decrypting a File
To decrypt, pass the encrypted file to gpg with -d (--decrypt) and use -o to name the output file:
gpg -o database-backup.sql -d database-backup.sql.gpggpg asks for the passphrase and writes the decrypted file. Without -o, the -d option prints the decrypted content to standard output, which is useful when you only want to look at a small encrypted text file:
gpg -d notes.txt.ascIf you decrypt the same file again a moment later, you may not be prompted for the passphrase. That is not a bug: gpg-agent caches passphrases for a few minutes. To clear the cache immediately, reload the agent:
gpg-connect-agent reloadagent /byeGenerating a GPG Key Pair
Public key encryption removes the shared-passphrase problem. You publish your public key, anyone can use it to encrypt files for you, and only your private key can decrypt them. The private key never leaves your machine.
Generate a key pair with:
gpg --full-generate-keyThe command walks you through a few prompts: the key type (the default is fine), the expiration date, and your name and email address. Finally, it asks for a passphrase that protects the private key on disk. When the process finishes, list your keys to confirm:
gpg --list-keyspub ed25519 2026-01-01 [SC] [expires: 2029-01-01]
1A2B3C4D5E6F7A8B9C0D1E2F3A4B5C6D7E8F9A0B
uid [ultimate] Alice Example <alice@example.com>
sub cv25519 2026-01-01 [E] [expires: 2029-01-01]The long hexadecimal string is the key fingerprint. It uniquely identifies the key, and other people use it to verify that a key really belongs to you.
Exchanging Public Keys
To let someone encrypt files for you, export your public key in ASCII format and send it to them:
gpg --armor --export alice@example.com > alice-public.ascWhen you receive a public key from someone else, import it into your keyring:
gpg --import bob-public.ascgpg: key 9F8E7D6C5B4A3F2E: public key "Bob Example <bob@example.com>" imported
gpg: Total number processed: 1
gpg: imported: 1Before you trust an imported key, compare its fingerprint with the owner over a separate channel, such as a video call or an already-verified chat:
gpg --fingerprint bob@example.comIf the fingerprints match, you can certify the key so gpg stops warning you about it:
gpg --sign-key bob@example.comEncrypting a File for a Recipient
With the recipient’s public key imported, encrypt a file for them using -e (--encrypt) and -r (--recipient):
gpg -e -r bob@example.com report.pdfThis writes report.pdf.gpg, which only Bob’s private key can decrypt. If you have not certified Bob’s key yet, gpg shows a warning:
gpg: 9F8E7D6C5B4A3F2E: There is no assurance this key belongs to the named user
Use this key anyway? (y/N)
Answer y only if you have verified the fingerprint as described above. To silence the warning permanently, certify the key with --sign-key.
You can name several recipients, and each of them will be able to decrypt the same file. Include yourself if you want to keep a readable copy:
gpg -e -r bob@example.com -r alice@example.com report.pdfWithout -r alice@example.com in that command, even you, the person who encrypted the file, could not decrypt the result.
Signing and Verifying Encrypted Files
Encryption hides the content, but it does not prove who created the file. Anyone with Bob’s public key can encrypt a file for him. Adding a signature with -s (--sign) closes that gap:
gpg -s -u alice@example.com -e -r bob@example.com report.pdfThe -u (--local-user) option selects Alice’s signing key explicitly, which matters if you have more than one private key. gpg asks for the private key passphrase, then signs and encrypts in one pass. When Bob decrypts the file, gpg verifies the signature automatically:
gpg -o report.pdf -d report.pdf.gpggpg: encrypted with cv25519 key, ID 9F8E7D6C5B4A3F2E, created 2026-01-01
"Bob Example <bob@example.com>"
gpg: Signature made Thu 01 Jan 2026 11:42:10 CET
gpg: using EDDSA key 1A2B3C4D5E6F7A8B9C0D1E2F3A4B5C6D7E8F9A0B
gpg: Good signature from "Alice Example <alice@example.com>" [full]The Good signature line confirms both that the file came from Alice and that it was not modified after signing. If the file was altered in transit, gpg reports a bad signature instead. For verifying plain downloads rather than encrypted files, checksums are often enough; see our guide on the sha256sum and md5sum commands
.
Encrypting a Directory
gpg encrypts single files, not directories. The usual pattern is to pack the directory with tar
and encrypt the archive in one pipeline:
tar czf - project/ | gpg -c -o project.tar.gz.gpgThe tar command writes a compressed archive to standard output, and gpg encrypts the stream into project.tar.gz.gpg without ever writing an unencrypted archive to disk.
To restore the directory, reverse the pipeline:
gpg -d project.tar.gz.gpg | tar xzf -The same pattern works with -e -r name@example.com in place of -c when you are encrypting the archive for someone else.
Decrypting in Scripts
Backup jobs and deploy scripts cannot type a passphrase interactively. For those cases, store the passphrase in a file and point gpg at it:
gpg --batch --yes --pinentry-mode loopback \
    --passphrase-file /root/.backup-pass \
    -o backup.sql -d backup.sql.gpg
The --batch option disables all interactive prompts, --yes overwrites the output file if it exists, and --pinentry-mode loopback allows the passphrase to come from the file instead of the interactive pinentry dialog. GPG reads only the first line of the passphrase file. The same options work with -c for encrypting.
chmod 600, keep it outside your repository, and add it to .gitignore so it never lands in version control. Avoid passphrase files when public key encryption fits the job. Scripts need no passphrase to encrypt with -e -r because that operation uses only the recipient’s public key.Troubleshooting
gpg: decryption failed: No secret key
The file was encrypted for a key that is not in your keyring. This often happens when someone encrypts a file with their own key instead of yours, or when you moved to a new machine without migrating your private key. Run gpg --list-packets file.gpg | head to see which key ID the file was encrypted for.
gpg: public key decryption failed: Inappropriate ioctl for devicegpg could not open a passphrase prompt, which is common over SSH or in minimal shells. Tell it which terminal to use and retry:
export GPG_TTY=$(tty)Add the line to ~/.bashrc to make it permanent.
gpg does not ask for the passphrasegpg-agent has cached it. This is expected behavior; run gpg-connect-agent reloadagent /bye to clear the cache, for example before stepping away from a shared machine.
There is no assurance this key belongs to the named user
The recipient’s key is imported but not certified. Verify the fingerprint with the owner, then run gpg --sign-key name@example.com.
Conclusion
Use gpg -c with a strong passphrase when you are protecting your own files, and key-based encryption with -e -r when files move between people, adding -s when the recipient needs proof of who sent them. For TLS certificates and encrypting data in transit rather than files at rest, see our guide on how to use OpenSSL
.
Tags
Linuxize Weekly Newsletter
A quick weekly roundup of new tutorials, news, and tips.
About the authors

Dejan Panovski
Dejan Panovski is the founder of Linuxize, an RHCSA-certified Linux system administrator and DevOps engineer based in Skopje, Macedonia. Author of 1000+ Linux tutorials with 20+ years of experience turning complex Linux tasks into clear, reliable guides.
View author page