git switch: Switch and Create Branches
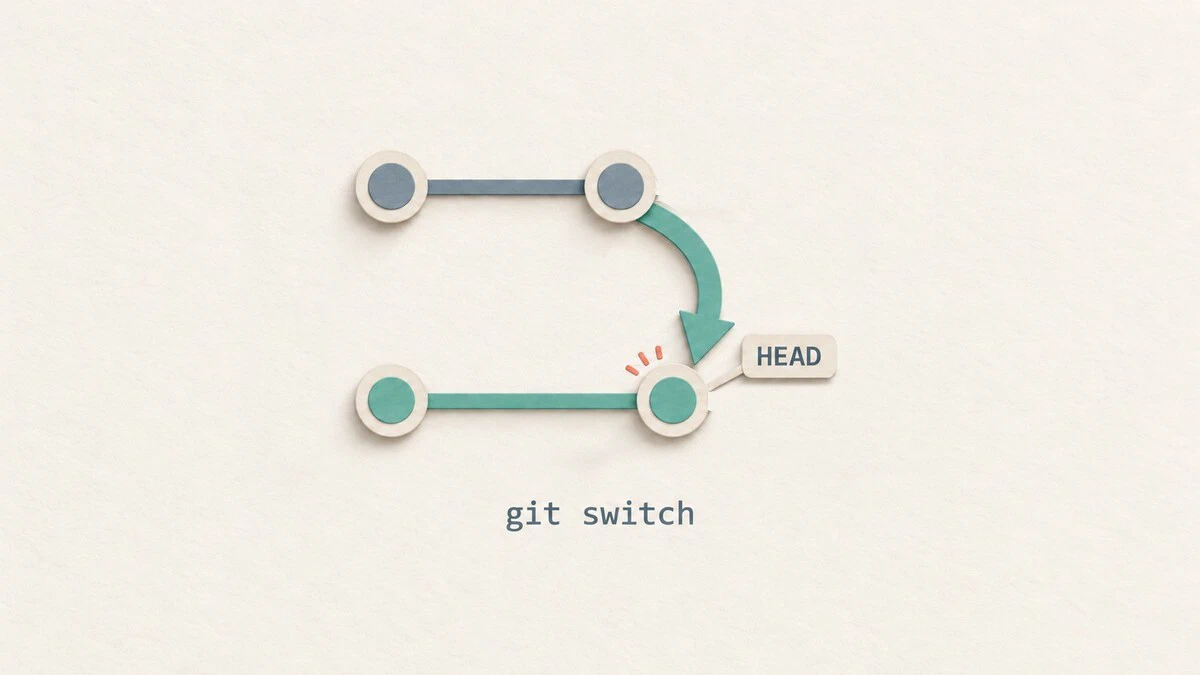
When you need to start a feature, review another branch, or return to unfinished work, git switch lets you change branches without mixing branch operations with file restoration. You can also create a branch and switch to it in one command.
This guide explains how to use git switch to switch branches, create local and tracking branches, and handle uncommitted changes.
git switch Syntax
The most-used forms of the command are:
git switch [OPTIONS] BRANCH
git switch -c NEW_BRANCH [START_POINT]
git switch --track REMOTE/BRANCH
git switch --detach [COMMIT]
BRANCH is an existing local branch, and NEW_BRANCH is the name you want to create. If you omit START_POINT, the new branch starts at your current HEAD, the commit you currently have checked out.
Run the examples from inside an existing Git repository. The command requires Git 2.23 or later; you can check your version with git --version. Where an example uses main, substitute your repository’s branch name if it differs.
Switching to an Existing Branch
To see which local branches are available, list them first:
git branch --listThe current branch is marked with an asterisk. To switch to an existing branch named feature-login, pass its name to git switch:
git switch feature-loginSwitched to branch 'feature-login'Git updates the tracked files in your working tree and the index to match feature-login, and HEAD now refers to that branch. If the branch tracks a remote branch, Git also reports its upstream status. Uncommitted changes can follow you to the new branch when the switch does not overwrite them.
To go back to the branch you were on before, use -:
git switch -If your previous checkout was a branch, this switches back to it, whether you used git switch or git checkout to get here. For example, if you switched from main to feature-login, git switch - takes you back to main.
Creating a New Branch
Use -c to create a new branch and switch to it in one step:
git switch -c fix-navbarSwitched to a new branch 'fix-navbar'The new branch starts from your current HEAD. This is the direct equivalent of the older git checkout -b fix-navbar. It creates a local branch only; it does not publish the branch to a remote.
Creating from a Specific Starting Point
To branch off from a specific commit, tag, or branch rather than your current position, pass the starting point as the second argument:
git switch -c hotfix-ssl mainThis creates hotfix-ssl starting at the tip of your local main, regardless of which branch you are currently on. To start one commit before your current position, use HEAD~1:
git switch -c debug-snapshot HEAD~1This example requires at least two commits in the current history. You can also use an actual commit hash from git log or an existing tag as the starting point.
Creating from a Remote Branch
When the branch you want exists on a remote, fetch the remote references first:
git fetch originWith the usual fetch configuration, this updates your origin/* remote-tracking references without changing your checked-out branch. The git switch command uses these local references; it does not contact the remote itself. See git fetch vs git pull
for more on fetching changes.
If feature-payments does not exist locally but origin/feature-payments exists, Git can create the local tracking branch automatically:
git switch feature-paymentsThe output confirms that Git created the branch and set its upstream:
branch 'feature-payments' set up to track 'origin/feature-payments'.
Switched to a new branch 'feature-payments'
Instead of the automatic command, you can use --track to choose the remote explicitly:
git switch --track origin/feature-paymentsThese are alternative ways to create the same branch. If you already ran the first command, the local branch now exists, so use git switch feature-payments afterward.
Automatic creation is enabled by default and works when exactly one remote has a matching branch. If several remotes match, use the explicit --track form, or configure checkout.defaultRemote to choose a preferred remote. Tracking sets the local branch’s upstream; it does not download new commits or push your work.
Handling Uncommitted Changes
You do not always need a clean working tree to switch branches. Git allows the switch when it can preserve your changes, but stops if files you modified would be overwritten by the target branch.
Before switching, check what you have changed:
git status --shortIf the changes are ready, commit them. If you need to put unfinished work aside, save it with git stash before switching:
git stash push -u -m "Before switching branches"
git switch main
The -u option includes untracked files as well as changes to tracked files. Ignored files are left in place. When you are ready to return to your previous branch and restore the stash, run:
git switch -
git stash apply
This assumes you have not switched branches or created another stash in between. The apply command restores the latest stash and keeps its saved entry. If it reports conflicts, resolve them before continuing. Once the changes look right, remove the entry with git stash drop. Avoid using --discard-changes or -f to get past a blocked switch unless you intend to discard local work.
Force-Resetting a Branch
The lowercase -c flag refuses to overwrite an existing branch. Uppercase -C creates the branch if it does not exist, or resets it to the specified starting point if it does.
-C on an existing branch, save its current tip under another branch name if you may need those commits.Suppose fix-navbar already exists and you want to restart it from your local main. Create a backup branch first, then reset and switch:
git branch backup/fix-navbar fix-navbar
git switch -C fix-navbar main
The backup still points to the old tip, while fix-navbar now points to main. If you reset a branch without a backup, its reflog
can help you find the previous tip while the entries and commits are retained. The -C option still refuses a switch that would overwrite conflicting uncommitted changes.
Detached HEAD
To inspect a commit without attaching HEAD to a branch, use --detach. You can try this at your current commit:
git switch --detach HEADGit reports the commit hash and subject. Replace HEAD with a real commit hash or an existing tag when you want to inspect another point in history.
In detached HEAD state, new commits are not attached to a branch. If you make changes and commit them here, create a branch before switching away to keep those commits easy to find:
git switch -c save-my-workThe new branch points to your current commit, including any commits you made while detached. If you only inspected the files and have no work to keep, return to an existing branch:
git switch maingit switch vs git checkout
Both commands work for branch operations, but git switch is narrower by design and clearer about its intent.
| Task | git switch | git checkout |
|---|---|---|
| Switch to branch | git switch branch | git checkout branch |
| Create and switch | git switch -c branch | git checkout -b branch |
| Create from a starting point | git switch -c branch start | git checkout -b branch start |
| Create a tracking branch | git switch --track origin/branch | git checkout --track origin/branch |
| Detach HEAD | git switch --detach commit | git checkout commit |
| Restore a file | not supported | git checkout -- file |
Use git switch for branch operations and git restore for file restoration. The older git checkout supports both tasks, so you will still see it in existing scripts and tutorials.
Quick Reference
For a printable quick reference, see the Git cheatsheet .
| Command | Description |
|---|---|
git switch branch | Switch to an existing branch |
git switch - | Switch to the previous branch |
git switch -c new-branch | Create and switch to a new branch |
git switch -c new-branch start | Create from a specific branch or commit |
git switch -C branch start | Create or reset a branch; back up an existing branch first |
git switch --track origin/branch | Create a local branch tracking a remote |
git switch --detach commit | Detach HEAD at a specific commit |
Troubleshooting
Local changes would be overwritten
Git is protecting changes that conflict with the target branch. Run git status --short, then commit or stash the work you want to keep. If Git names untracked files, include them with git stash push -u or move them somewhere safe. Ignored files are not included by -u.
Invalid reference or branch not found
Check the spelling with git branch --list. For a remote branch, run git fetch origin and git branch -r to check the remote-tracking name. If several remotes have the same branch, use git switch --track origin/branch to choose one explicitly when creating the local branch.
A branch is expected, got commit
Unlike git checkout, git switch does not detach HEAD on its own. Passing a commit hash, tag, or remote-tracking branch such as origin/main fails with this error. Add --detach to inspect that point in history, or use git switch -c NEW_BRANCH START_POINT to create a branch there.
Branch already checked out in another worktree
Git normally allows a branch to be checked out in only one worktree. Run git worktree list to find the directory using it, and work there or switch that directory to another branch first. See the git worktree guide
for managing separate working directories.
Conclusion
Once your work is merged, you can remove branches you no longer need. See the git branch guide for listing, renaming, and deleting branches.
Tags
Linuxize Weekly Newsletter
A quick weekly roundup of new tutorials, news, and tips.
About the authors

Dejan Panovski
Dejan Panovski is the founder of Linuxize, an RHCSA-certified Linux system administrator and DevOps engineer based in Skopje, Macedonia. Author of 1000+ Linux tutorials with 20+ years of experience turning complex Linux tasks into clear, reliable guides.
View author page